At last. Finally. I’ve made something. Two things, in fact!
I had a bit of a break over the summer after I made a top and a vest for myself, and then even more of a break as we had a new floor put in the kitchen and everything (EVERYTHING) in the room had to be moved out and relocated (some…most…of it is still relocated. Let’s just close the door on the spare room and never go back in there…) which included the sewing machine. And with one thing and another I just couldn’t be bothered.
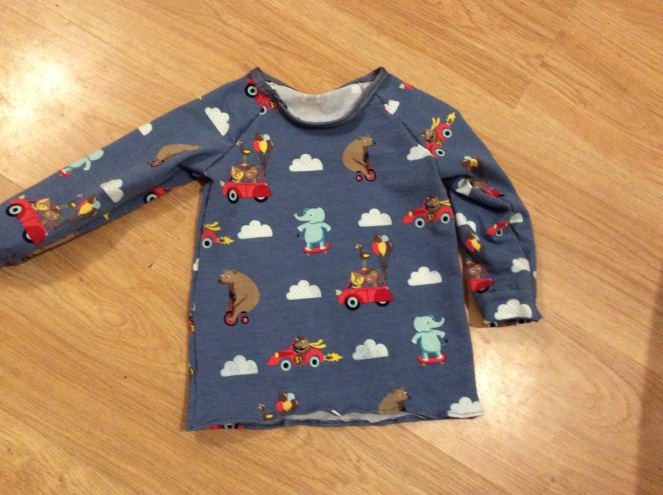
then I could. Because I had some lovely fabric and the children demanded clothes to be made from it. It’s a lovely heavy jersey, grey background with trees and bears printed on it. Just right for autumn and winter.
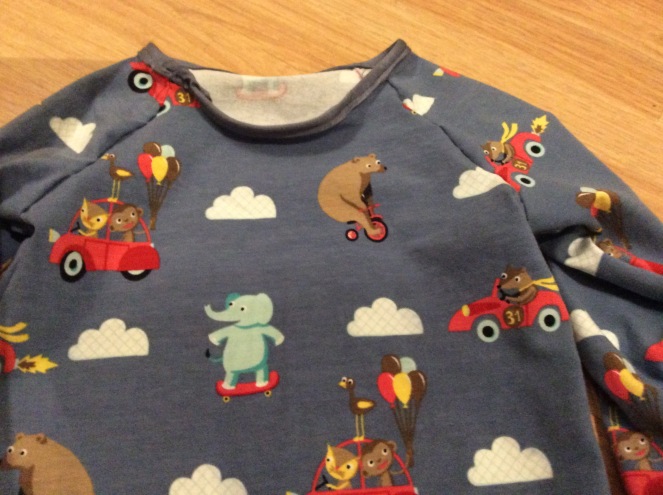
I made the boy a long sleeve top (trusty old Ottobre design) with an adapted neck line. Adapted because I wanted to have the option of him wearing it rolled down like a normal sweater or rolled up like a polo neck in place of a scarf. And not at all because i cocked up with the original neckband and ripping it out made me cry and not want to try it again. Not at all.
anyway, is always the case, he LOVED the top. To look at. To wear? Let’s look at how he reacted…
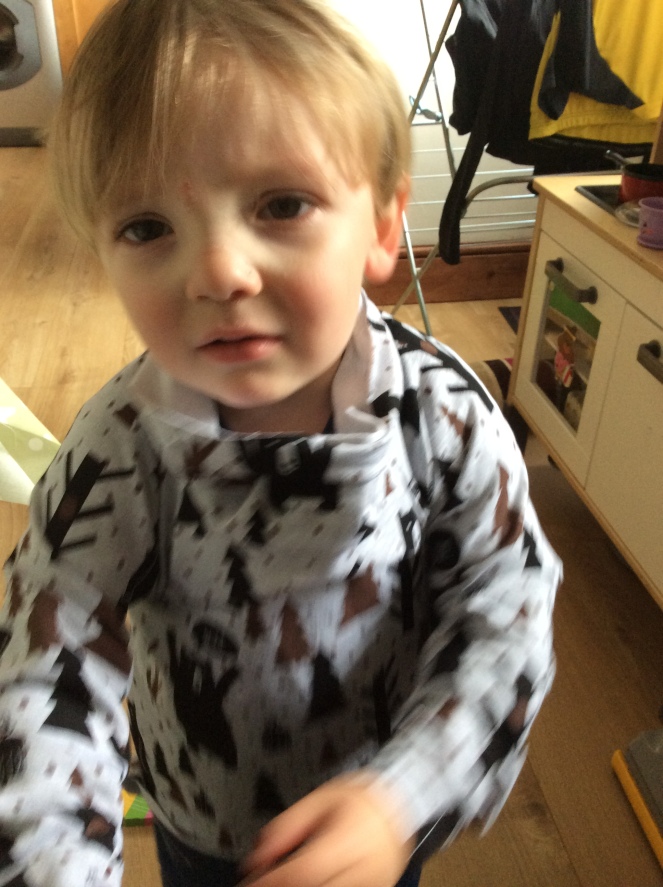
Note – you can see my multifunctional collar there. Once you get over the wee face of “no mummy, mummy not do that me”. Anyway. It got worse…
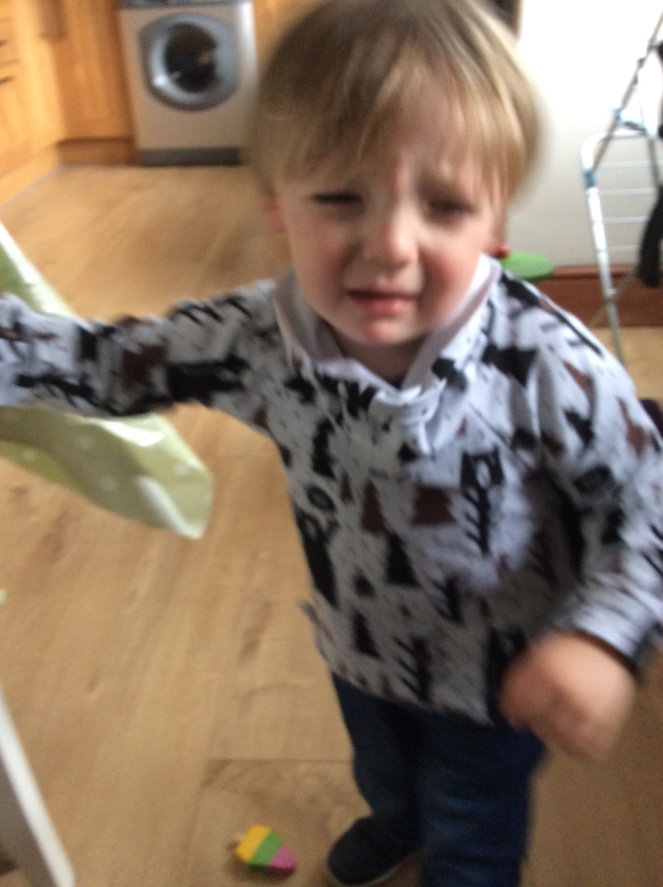 He ran away at this point. Dragging the top off. The child has no appreciation of my mad sewing skillz.
Anyway. On to the other child. The slightly more appreciative one. The one who occasionally agrees to wear something I have made for her on her request.
she asked for a skirt in the same material. I searched a bit for patterns but only half heartedly as I knew I could just whip one up in an afternoon. Then I laughed at myself because that’s what all these bloggers say, and they do indeed whip up their items in one afternoon while I am sitting there at my kitchen table, swearing as I jab myself with the fecking seam ripper, unpicking a badly sewn neckband. But I gave it a go.
once I had tidied away the den
 Okay, so maybe i got started first and then when shit got real and I had to attach that skirt waistband to the skirt, I procrastinated and tidied away the den. Potaytoes potahtoes. (Also – the children were upstairs rampaging through another room, I wasn’t a total killjoy, they had abandoned the den.)
Back to the skirt. My pattern – self drafted. So only myself to blame, really, if things went wrong. Waist band was made out of two wide strips (measuring I don’t know inches long because I forgot to measure it), joined at the short ends to make a circle. The skirt was one long strip 36 inches wide by 15 inches long. I sewed up the short ends to make a circle, then pleated the top edge all the way along so that it fitted the waist band. Neat. Then I folded over the waistband and hand stitched at each 1/4 mark point. Two reasons – my top stitching is shit, and I was running out of black thread. It looks ok. Then I hemmed the bottom, brought it up about 2 inches due to my tendency to always make things too big.
End result:
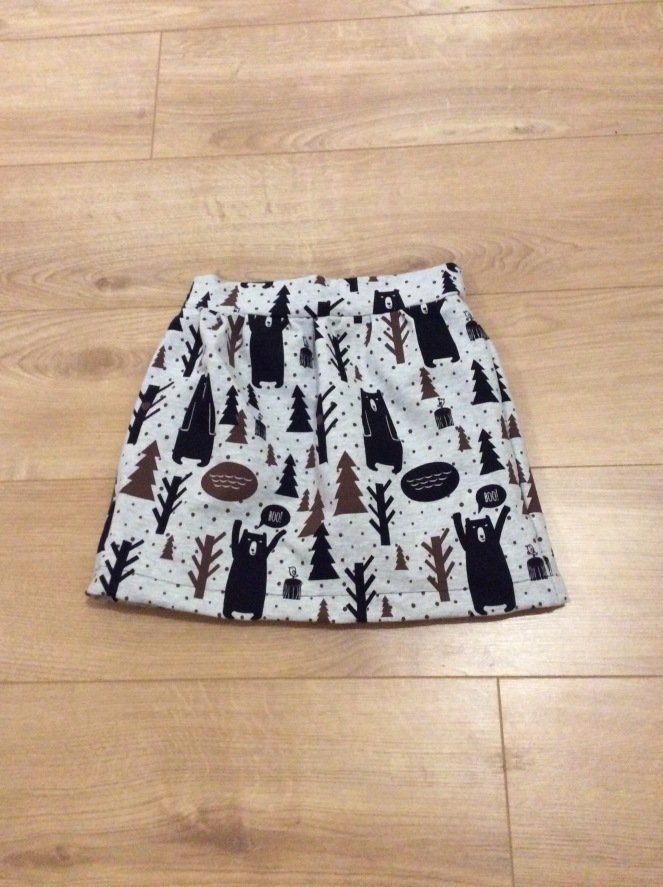 Aces. (And ooh – lovely floor!)
inside:
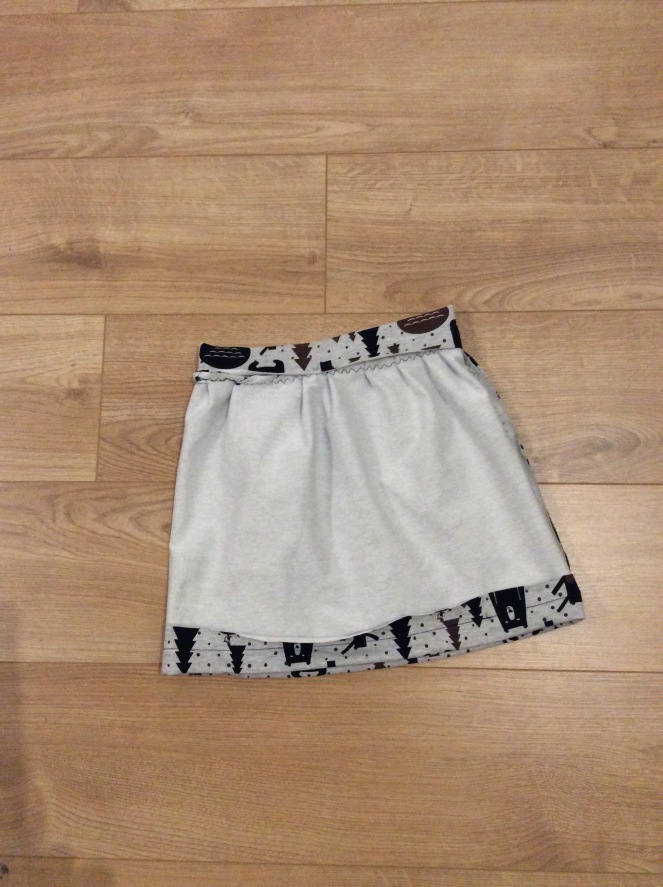 Finished!
and how long did it take me? Guess!
LESS THAN AN AFTERNOON.
two hours, tops. And that includes den tidying away time.
I don’t have a picture of my daughter wearing it, because she only put it on for five minutes and wouldn’t cooperate. She claims it’s a thumbs up, so i feel like I can force her into it now.
But I am pleased. I’m happy with the makes and the finish of them. And as I have noticed over the summer that I am choosing to wear clothes I have made over shop bought stuff, I am in the game for making more items for myself.
Lets see what autumn brings.
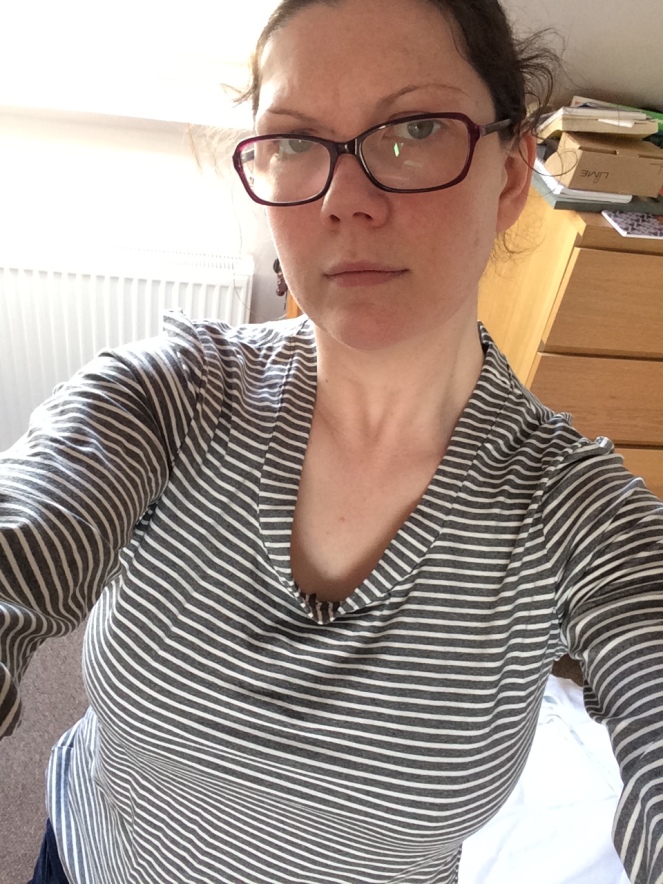 (Maybe I should have brushed my hair after all… never mind. Hello!)
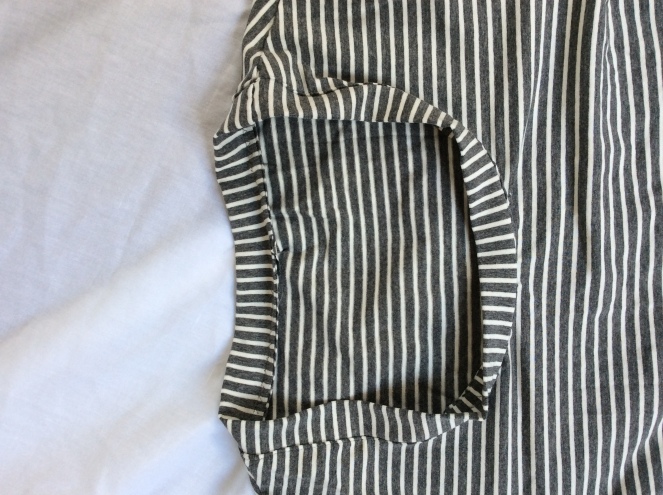 Although I have got a tiny pick up on the front neck, I don’t care. Because I MADE THIS AND I AM WEARING IT AND ISNT THAT BRILLIANT?!
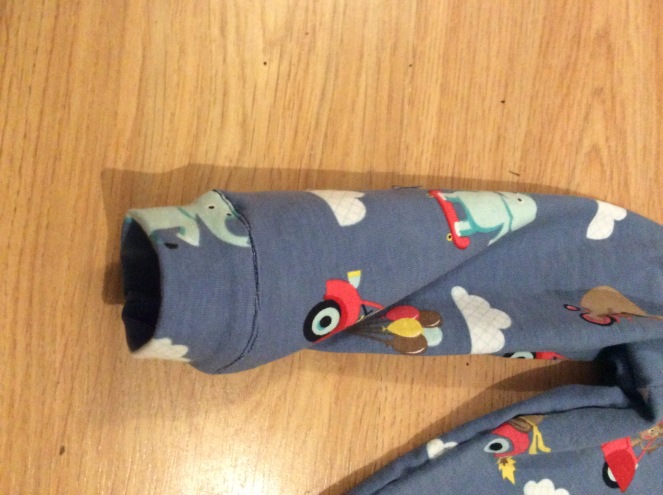
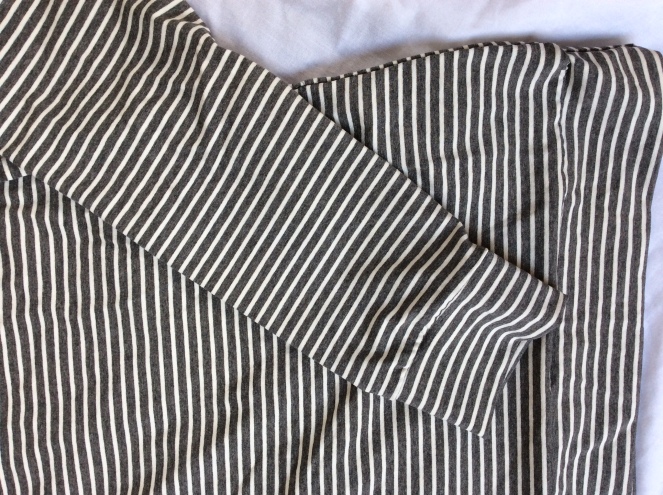 I didn’t top stitch around the seam here because I was worried about over stretching the cuffs. Because of the over sized nature of this (next time I’ll size down), the sleeves are quite loose already. But as I said, my wonder washing techniques will sort that no problem.
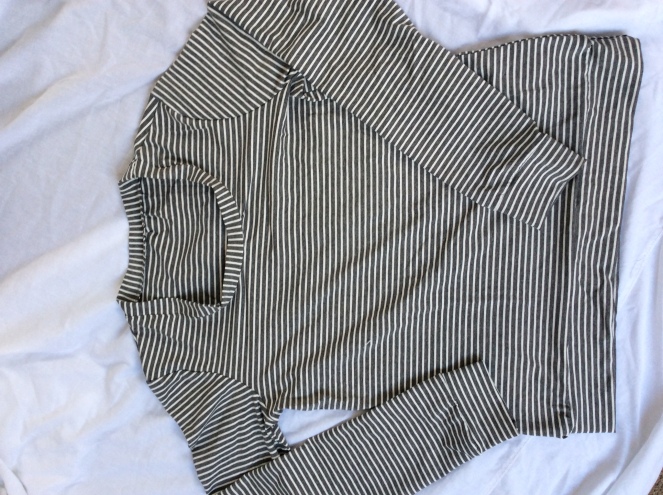 I love it.
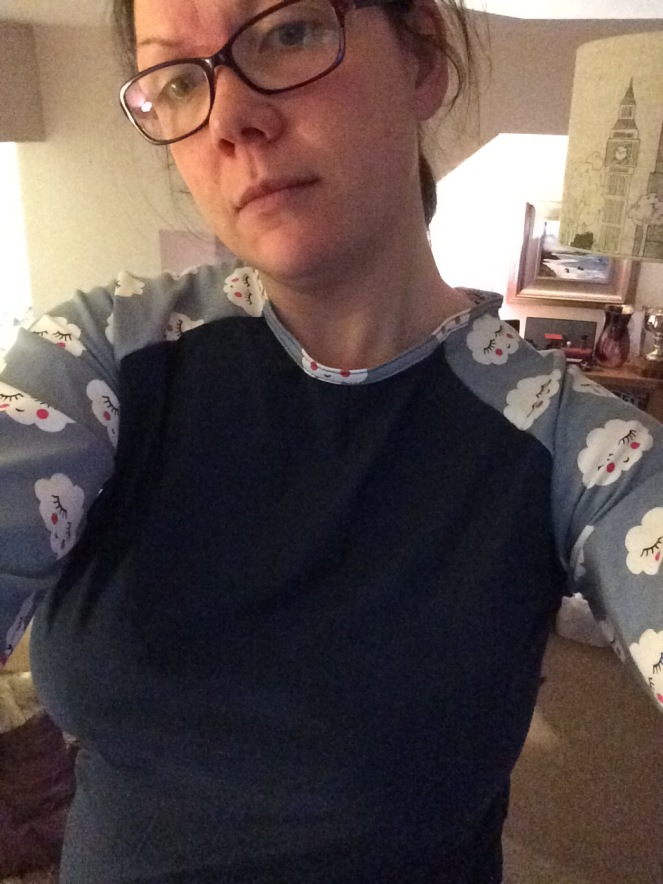
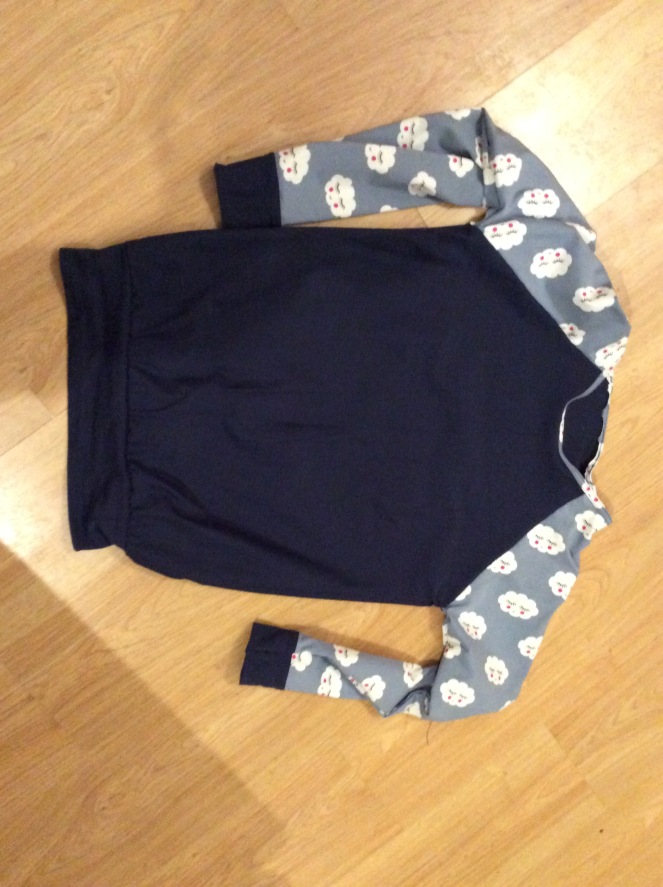 I top stitched the cuffs because I like it
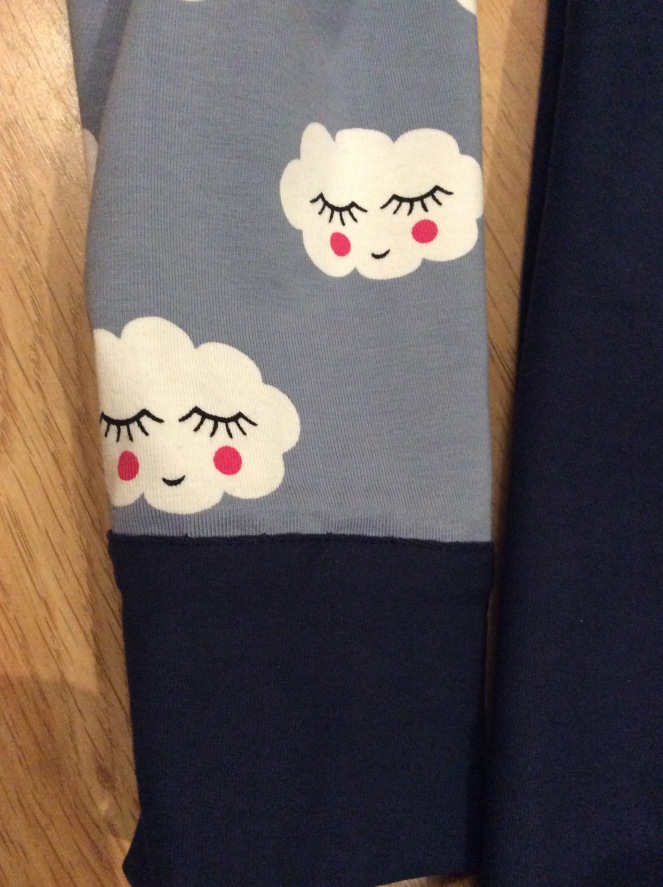 Not that you can see it. But it’s there and neat. Ah, look a top those bashful clouds. Lovely. And I did a double line of stitching along the collar. Not quite as neatly as I wanted but it’s good enough*
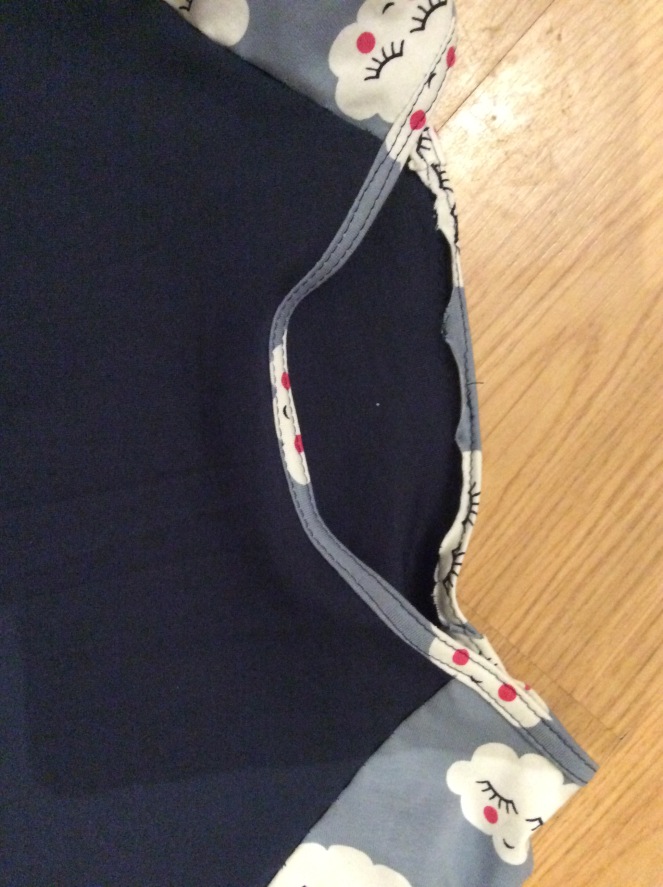 And that was that.
 I also cut the corners off because a tutorial said it would make it s box bottomed bag. I have a sneaking suspicion that I did it wrong. But it looks nice. And that’s the main thing.
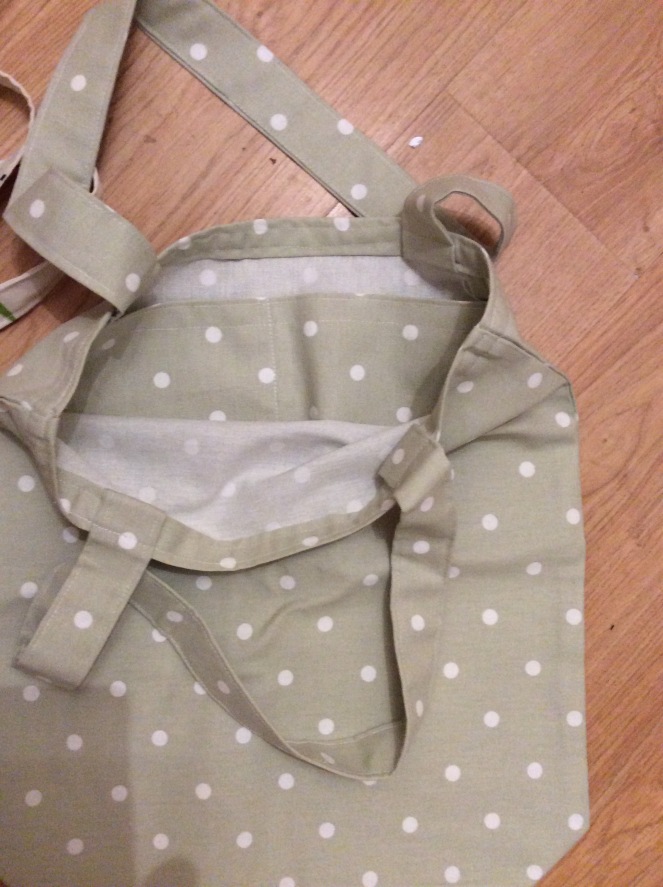 Inside the bag, you can see the incide pocket.
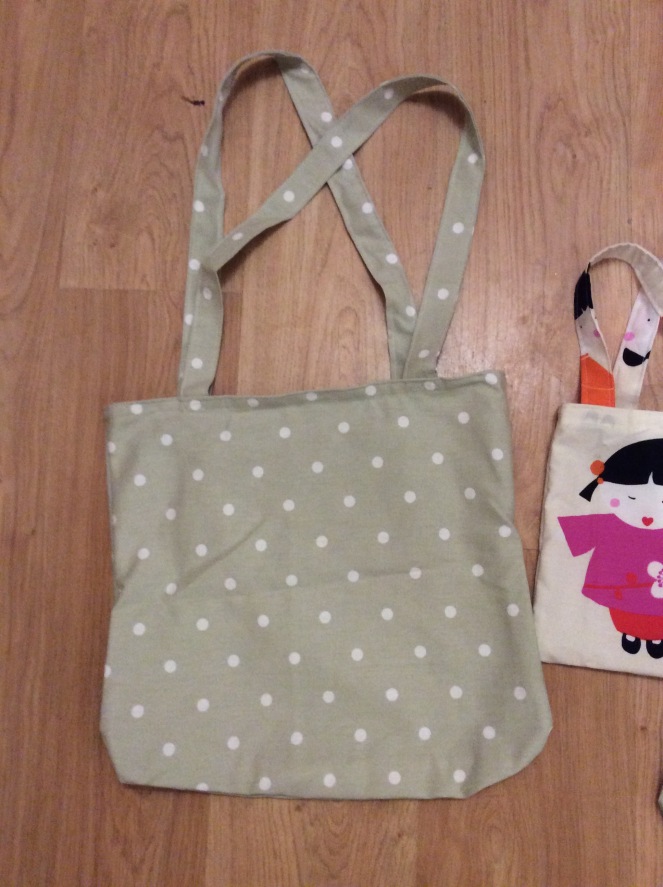 This is the second one, pretty much the same as the first. But hang on! Who is that sneaking in at the side there?
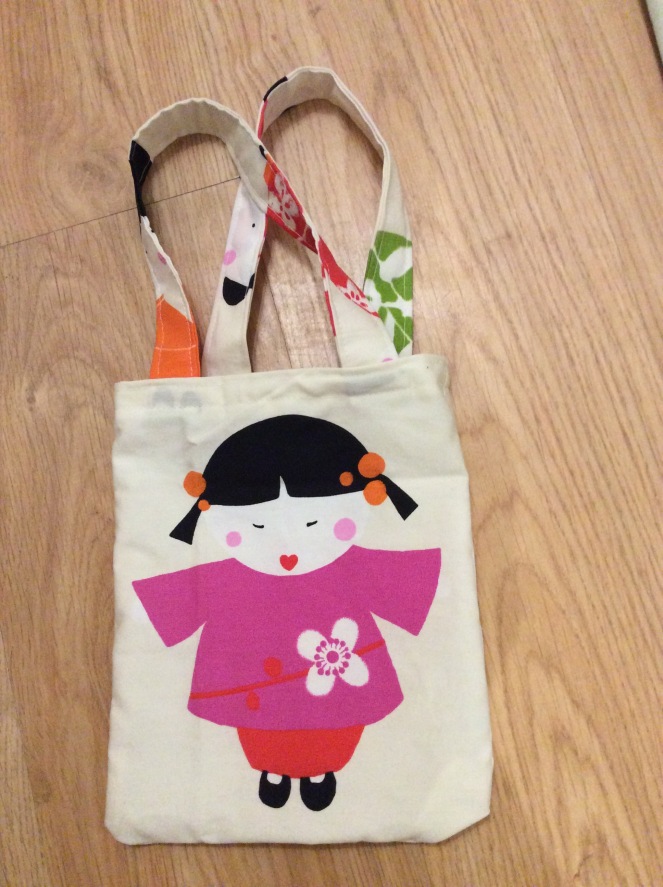 A mini version (corners intact) for my neighbour’s daughter who is turning 3 this week. I used the fabric I bought 5 years ago to cover some canvas on my daughter’s wall. Super cute doll, going to waste in the stash.
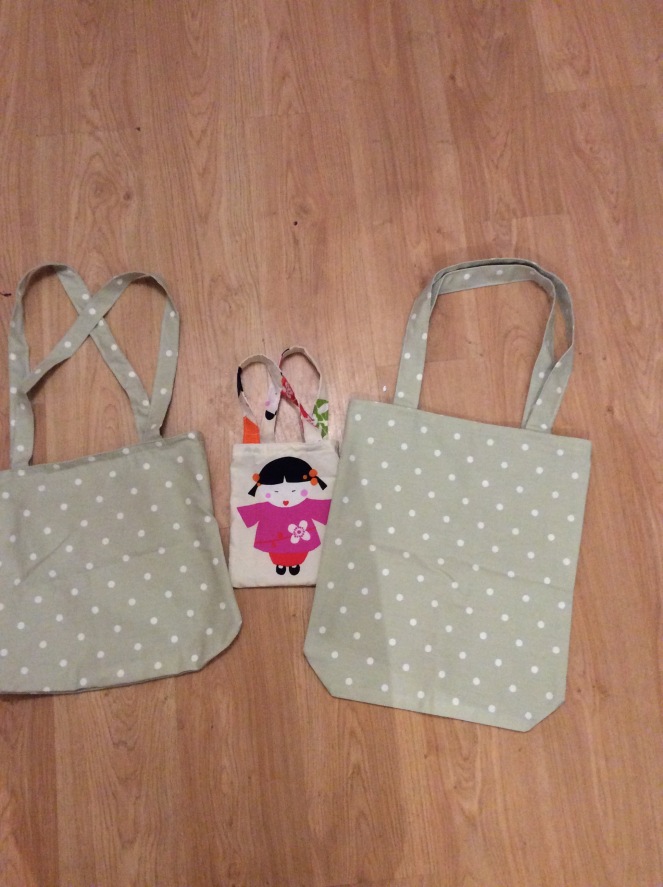 Tote bagarama.
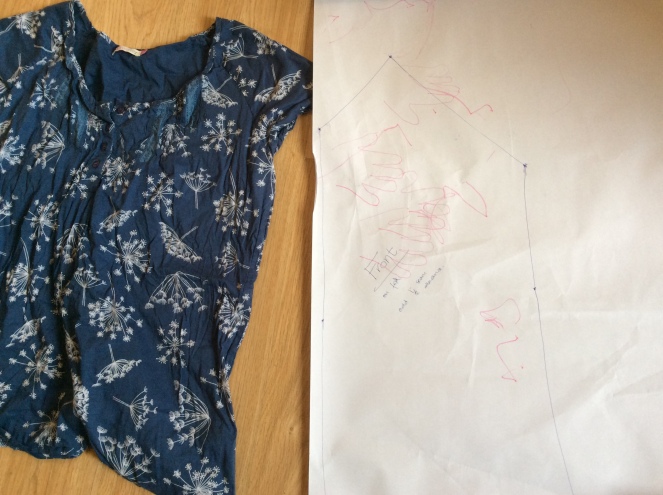
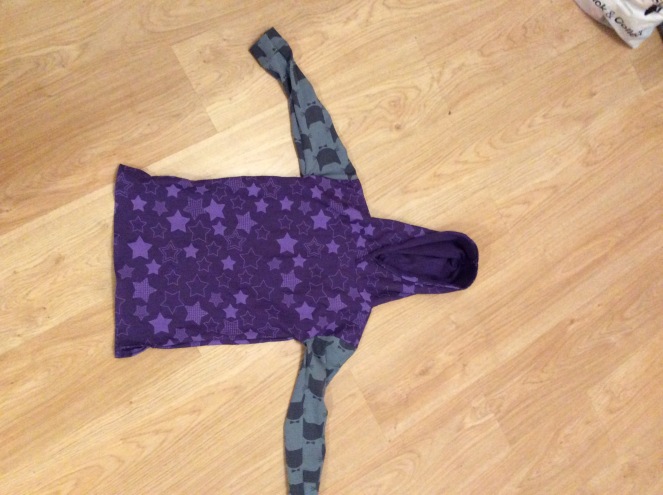 It is another item from the Ottobre magazine I bought, with fabric chosen by the girl herself. It was meant to be completely in the star material but for some completely unknown reason I only bought half a metre of it so I had to improvise and use the cat jersey I’d bought (again half a metre of it. Why so little? Search me. Can’t remember why. Sleep deprivation or general all round madness resulting in reluctance to buy enough fabric.) for a skirt for her. I did check with her, made sure she was happy with this turn of events. She confirmed she was. And promised to wear the jumper.
 That bottom 1/3 of the page? That is the full set of instructions for the top. I figured out the cuffs no problem
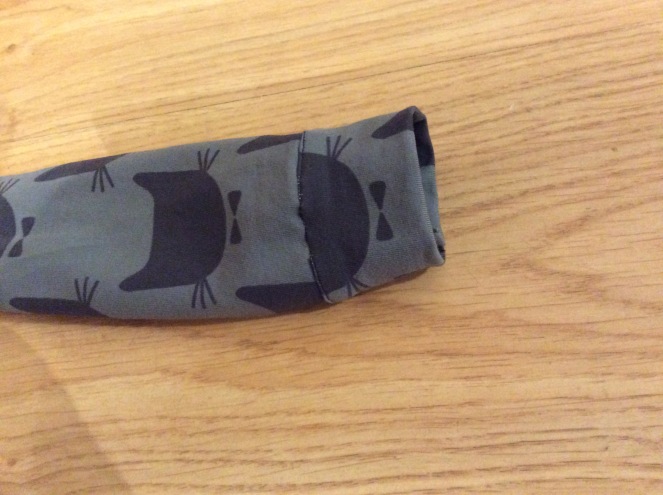 And I I actually really love how neat they are.
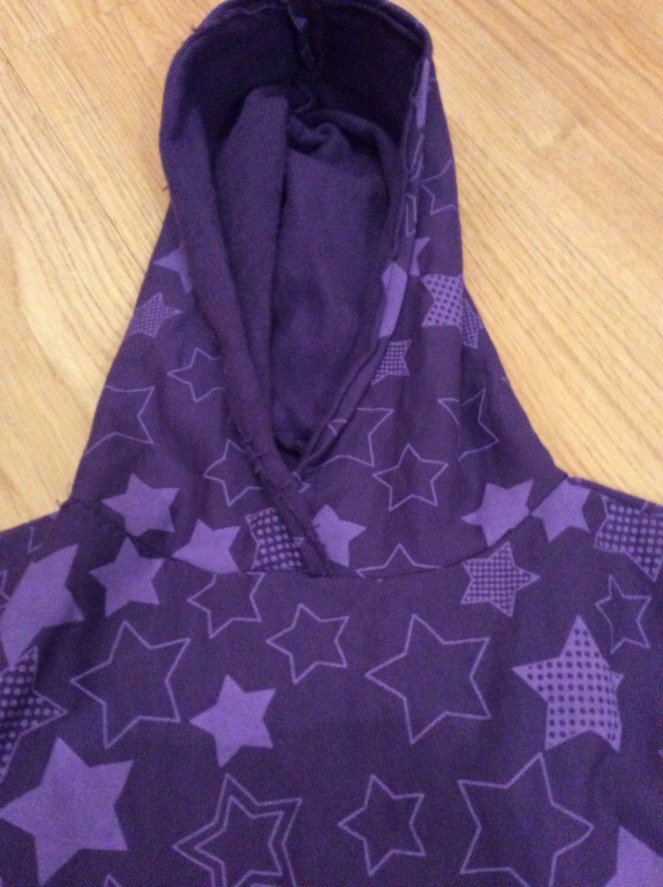 There’s a bit of…rusticness about the edging of the hood. But it looks fine to me. The jumper is in a lovely soft sweatshirt and it just kept curling at the edges. Not to worry, if I wanted perfect then I’d have bought something in the shop.
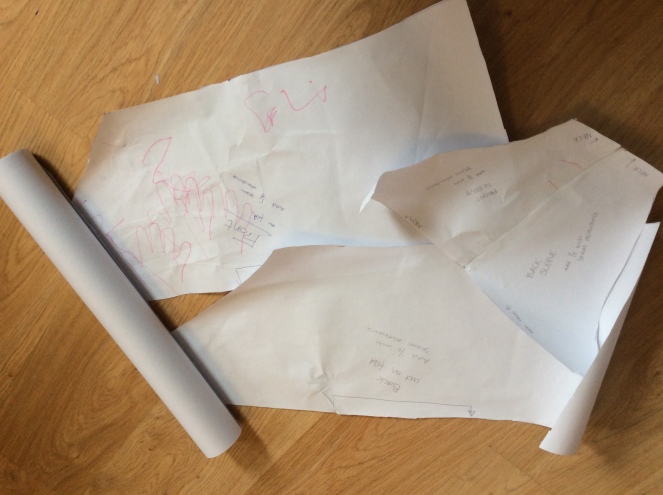
 Last night I traced out the pattern, cut out the fabric (which I had already dutifully washed and dried, which is very unusual for me, I know) and today in between boy nap time and the odd twenty minutes here and there, I pinned the pieces together and sewed it up. I have to admit here that I didn’t follow the instructions. As in I didn’t follow the instructions AT ALL. They seemed pretty sparse to me and I just thought, meh, I’ll figure it out. Im sure the neck could have been neater. I’ve realised I pigging HATE bias binding. Especially jersey stretch bias binding. But I’m still completely thrilled with this top. Go me!